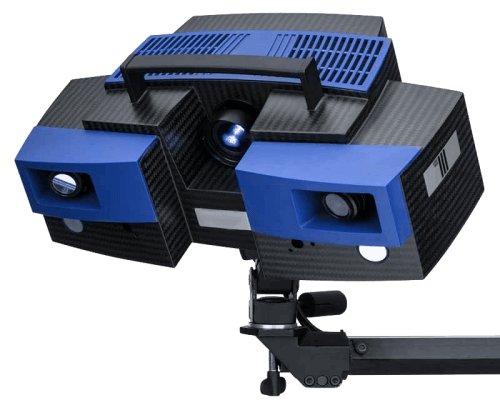
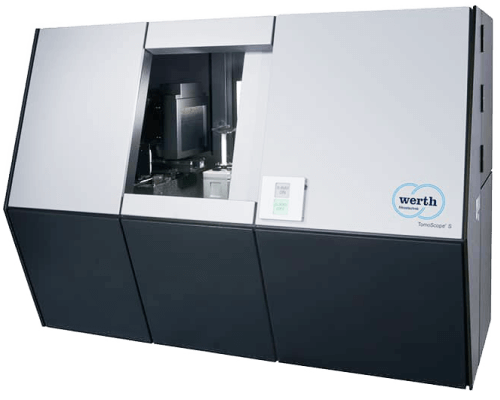
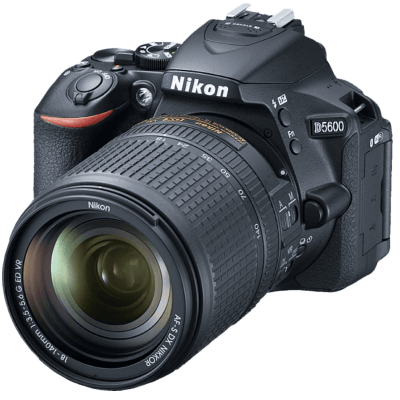
Holocreators is a 3D scanning company. We offer you a professional 3D scan service with an
accuracy of up to 0.005mm. We’d love to help you with your project. Call us at +49 40
481133 or write us an email: info@holocreators.com

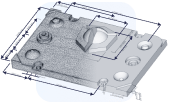
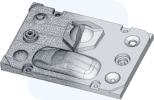
With this tutorial, we show you all the steps to create a free 3D scan. As an example, we 3D
scan a metal part from the fuel tank of a car. The part is called “Tankgeber” (fuel sensor):
To follow this tutorial, you need these free software packages:
- Meshroom (to convert the photos into a 3D file)
- Meshlab (for the 3D Scan Clean up and to combine several single scans)
- Netfabb (version 7.4.0) (to measure the 3D scan)
- Netfabb (current version) to measure the 3D scan)
- Zeiss Inspect (to compare the differences between different 3D scans)
Step 1: Manual Measurement

First, we measure our part (“fuel sensor”) manually. To minimize errors, we measure three
times with the caliper and determine the average value. This way, measurement outliers are
eliminated. We determine an average diameter of 76.2mm. This is the reference dimension,
which will be very important later on.
Photogrammetry (that’s the name of this 3D scanning technique) has the disadvantage that
it can’t produce correct measurements. Therefore, we need a reference measurement.
The reason is that the 3D model is calculated from photos, and the computer does not know
how big the part actually is.
Step 2: Taking Pictures of the Part

and perspectives
We place the part on a box and take lots of pictures from different angles and perspectives
with a cell phone—the more images, the better. Take at least 100 photos.
Good lighting is important. Photogrammetry works best with diffuse lighting. Fluorescent
tubes work great. Shadows have a negative effect on the photogrammetry process. The
object we want to 3D scan should have distinctive geometric features and should not be
reflective. Use spray chalk, if it’s too reflective. Take two photosets—one with the part
upright and one inverted to capture the interior features
Step 3: Creating the 3D Model (photogrammetry) in Meshroom

Next, import all the photos into the Meshroom software— simply by drag-n-drop. Press start
and the software does the rest. After the software has calculated the 3D model, the data is
exported as an OBJ file. (OBJ is a very similar format to STL and can be processed in the same
way.)

Many users have the problem that they cannot find the 3D model (OBJ format) created by
Meshroom.
When we click the “Start” button in Meshroom, we are asked where the cache folder should
be created. The project files are then stored in this folder. The “MeshroomCashe” folder
contains the subfolder “Meshing,” where the 3D scan is saved as an OBJ 3D model.

Step 4: 3D Scan Cleanup in Meshlab

Import the 3D scan (OBJ format) into Meshlab. Remove all unneeded geometry not wanted
in the 3D Scan. For this, use the function “Select Faces in a Rectangular Region”. Select
unwanted areas in red and then press the “delete”.

Once the 3D scan cleanup is complete, i.e. removed all unwanted geometry, we export the
3D model in STL format. Repeat this process also for the inside 3D scan.
Step 5: Measuring and Resizing in Netfabb
In Netfabb, measure the 3D scans and adjust the size using the reference diameter
determined earlier by manually measuring the part. To do this, import the STL file into
Netfabb and click on the “new measuring” button.


Determine the outer radius of the flange. It has a diameter of 6.98mm in the 3D scan.
Initially, manual measurement produced a value of 76.2mm. Therefore, we divide
76.2mm/6.98mm and get a scaling factor of 10.91. With this factor, we rescale the 3D model
to get the part’s original size.

Step 6: Realignment of Both 3D Scan Halves in Meshlab
Import both rescaled 3D scan halves back into Meshlab to line up and connect them
correctly. This process is called “alignment.”


To help the software fit the 3D models correctly, select at least three matching points on
both 3D scans. Then click on “Process,” and the software aligns both 3D scans.

Both 3D scans still have overlapping areas. Use the function “Select Faces in a Rectangular
Region” to remove this duplicated geometry.
Finally, right-click on the upper 3D scan in the right list and select “Flatten Visible layers”.
This function merges both 3D Scan halves.
Now the 3D scan of our part (“tankgeber”) is completed.
Step 7: Checking the Accuracy of the 3D Scan in Zeiss Inspect
We want to check how accurate our free 3D scan is. Therefore, we have 3D scanned the
same part with the professional 3D scanner Artec Space Spider. In the software Zeiss
Inspect, we compare both 3D scans and check the accuracy of the free 3D scan. With this
data, we created a deviation analysis.
Result: Our free 3D scan is pretty accurate. On average, it deviates only 0.2mm from the
professional 3D Scan.

Download of the Project Data
We have provided both the free 3D scan and the professional 3D scan for you to download.
The deviation analysis, which compares both 3D scans, is also available for download:
- Free 3D Scan of the part (“tankgeber”)
- Professional 3D scan of the part (“tankgeber”)
- Deviation analysis free 3D scan and professional 3D scan (PDF)
- Photogrammetry raw picture set of the part (“tankgeber”)
- Meshlab 3D Viewer (free software)
Conclusion
It is very impressive that we achieved this 3D scan result with only a mobile phone camera
and free software. Accuracy of 0.2mm was previously reserved for professional 3D scanners.
Nevertheless, the professional 3D scanners have their merits. They are calibrated and
guarantee a level of accuracy, which is very important when measuring critical parts. Also,
the 3D scan is much faster with a professional 3D Scanner. The free 3D scan required about
3 hours, while the professional 3D scan was completed 15 minutes.
Do you need help with a 3D Scan?
Holocreators offers 3D scanning services, 3D scan-to-CAD conversion services (STL to STEP), 3D modeling services, and CAD design services. We are happy to support you with your projects. If your
project requires the use of professional 3D scanners and a guaranteed accuracy from 0.1mm
to 0.005mm, then please feel free to call us at +49 40 481133 or write us an email:
info@holocreators.com
