Estimated reading time: mins

How to Reduce the Price of 3D CT Scans to 95 EUR per Part

Table of Contents

3D Scans with CT for 95 EUR – Here’s How We Do It

3D CT scanning is one of the most accurate methods for capturing 3D data of the internal and external geometry of complex objects. It’s the best scanning method we’ve used in nearly a decade of 3D scanning experience.

But there’s a catch – it’s often very expensive. That’s why at Holocreators, we developed a smart solution to bring the cost down to just 95 EUR per part while maintaining excellent scan quality.

In this article, we’ll show you exactly how the process works and what to expect at each stage.
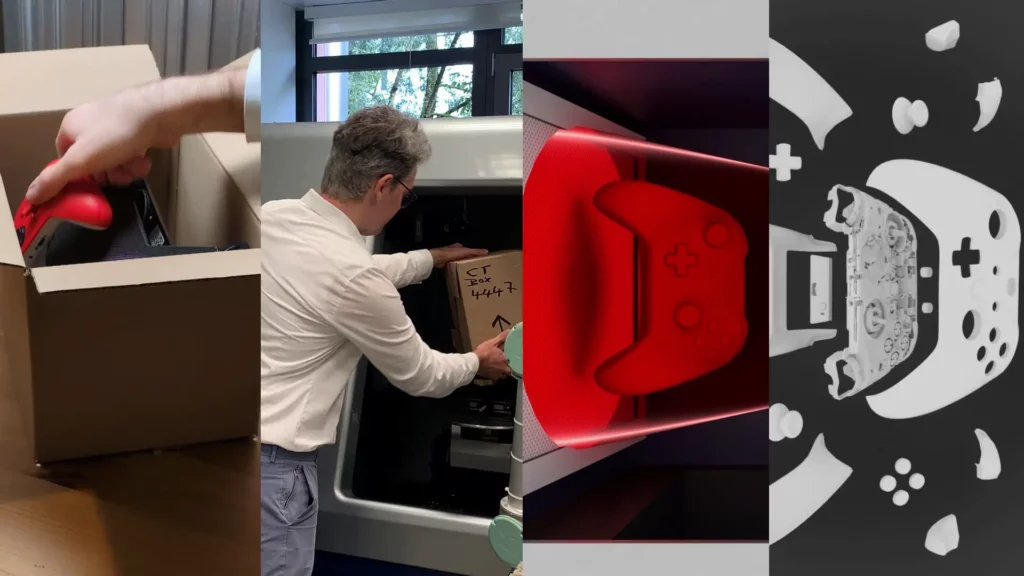
Collage showing a game controller being packed, 3d ct scanned, and digitally rendered
Swann Rack / Holocreators A step-by-step look at the CT scanning workflow.

Preparing for 3D CT Scanning

To demonstrate our cost-saving approach, we’ll use this new game controller as an example. Let’s start by unboxing it and getting it ready for the CT scan.
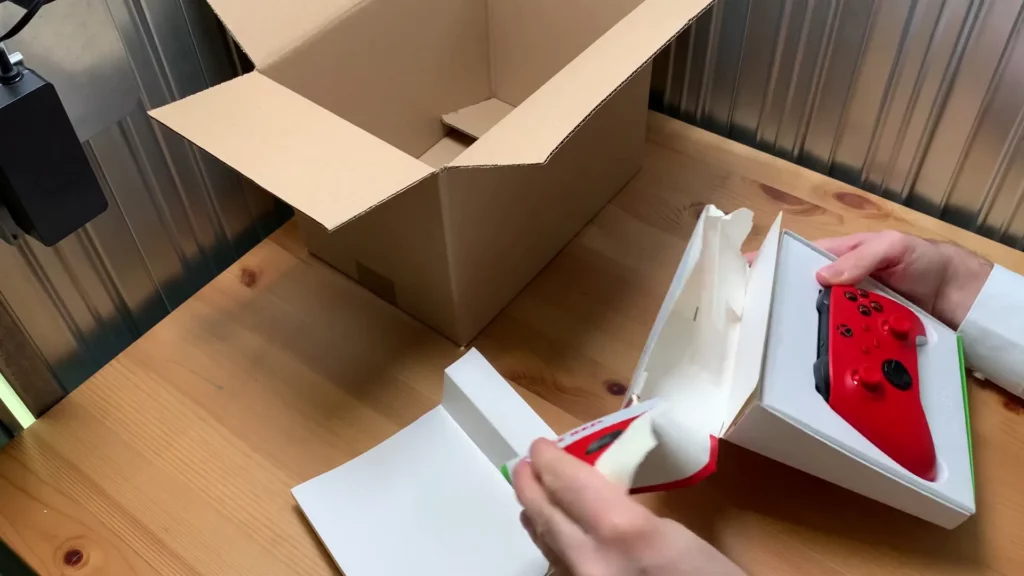
Red controller being taken out of its retail packaging next to an empty box
Swann Rack / Holocreators We’ll use this brand-new game controller to demonstrate our CT scanning process.

To get an accurate 3D CT scan, the object needs to fit within the fixed scan volume. We’ll be using a 25 by 25 by 30 centimeter cardboard box, which is just the right size to fit the game controller perfectly.

Cardboard box with controller inside and dimensions marked: 30x25x25cm
Swann Rack / Holocreators Everything we want to scan needs to fit inside this box. Box Size: 25cm*25cm*30cm

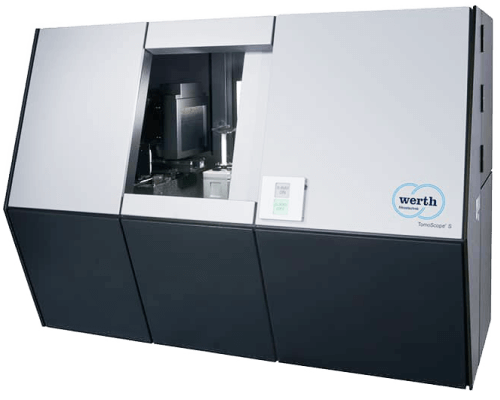
Now it’s time to place the box inside the 3D CT scanner. It’s a powerful, high-tech machine that uses X-rays to peer inside objects and create detailed 3D images. Its solid door shuts tight, locking everything in for a safe and to protect the operator from the x-ray radiation.
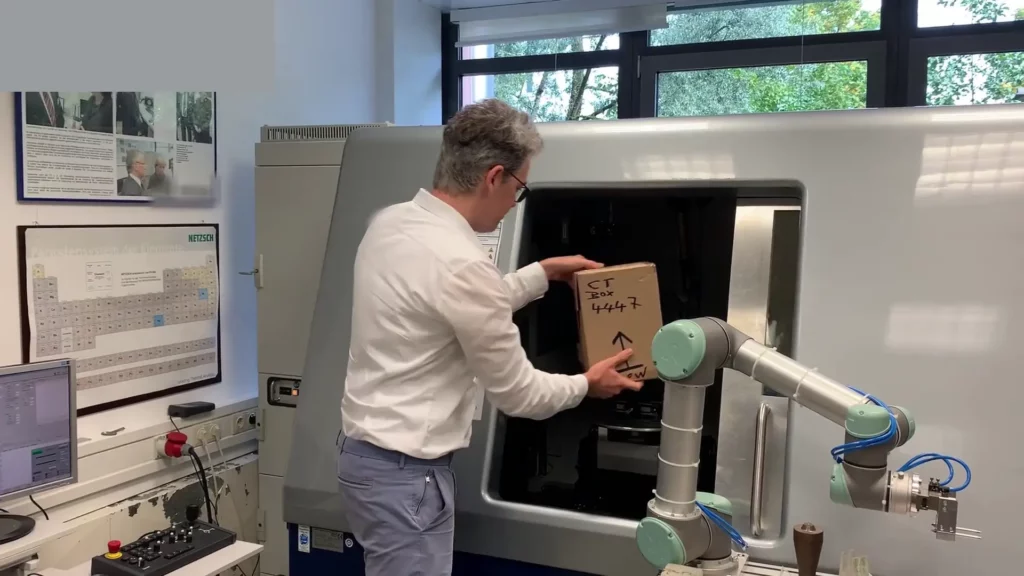
Man inserting labeled box into a large 3D CT scanner with the solid door open
Swann Rack / Holocreators Putting the box with the game controller into the 3D CT scanning machine.

Inside the CT Scanner

Let’s explore what’s happening inside the CT scanner. On the right side, we have the X-ray emitter. It sends out a powerful beam of X-rays that passes through the object we’re scanning.
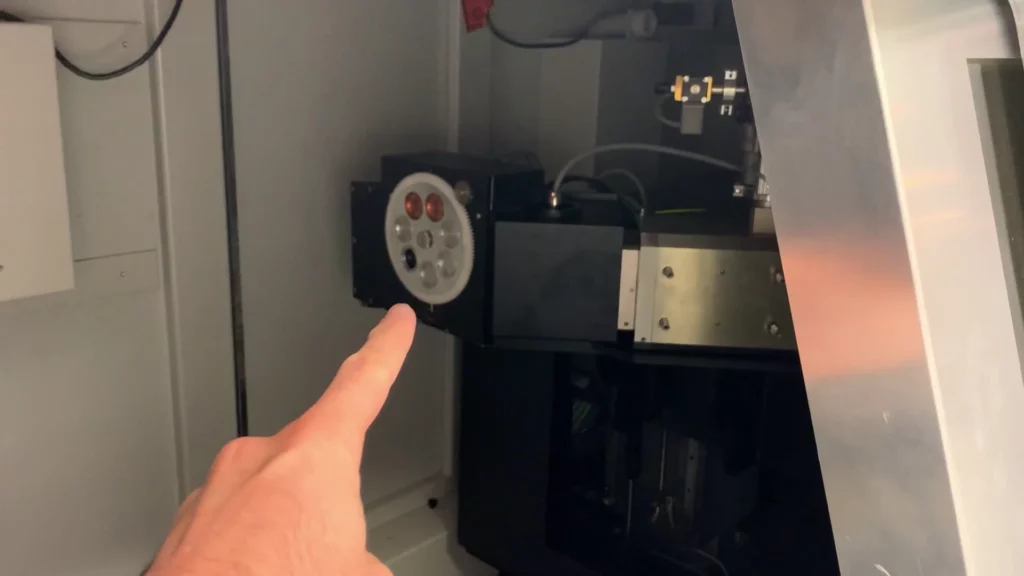
Close-up of the X-ray emitter inside the 3D CT scanner
Swann Rack / Holocreators The X-ray emitter emits radiation onto the object.

On the opposite side sits the detector, a large sensor that captures the X-rays after they’ve passed through the object.
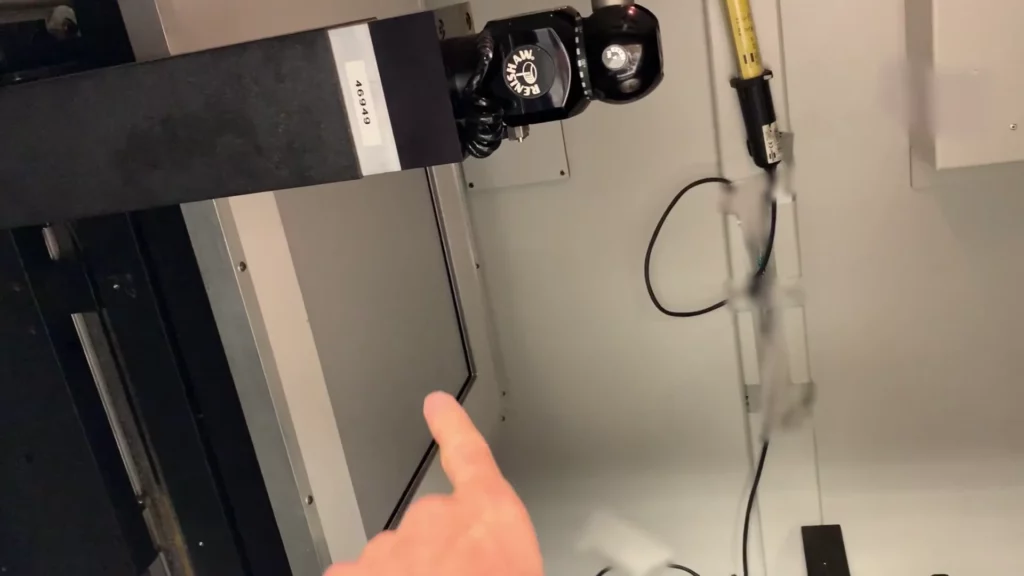
Close-up of the detector inside the 3D CT scanner
Swann Rack / Holocreators The detector inside the CT scanner captures the X-rays.

Together, these two components allow us to see inside solid parts and create highly detailed 3D scans.

To make things clearer, we’ve created this simple image. On the right, you see the X-ray emitter; in the center is our box; and on the left, the detector. While the box holds everything in place, it’s completely invisible to the CT scanner.
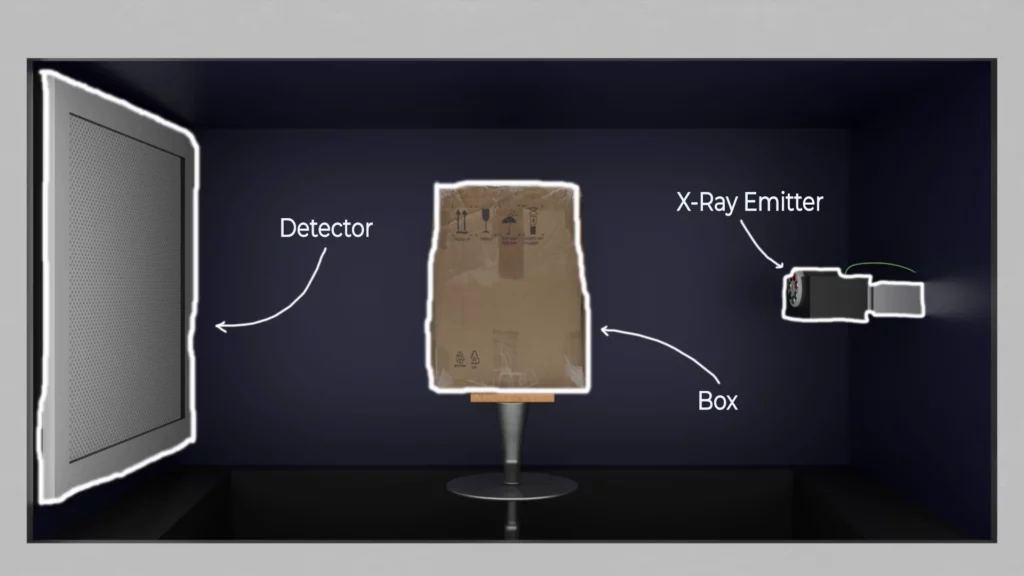
X-ray emitter on the right, detector on the left, and a box in between
Swann Rack / Holocreators The setup: emitter on the right, box in the middle, detector on the left.

We’ve placed our game controller inside the box. The CT scan will capture every detail of the object inside, but the box itself will remain invisible.
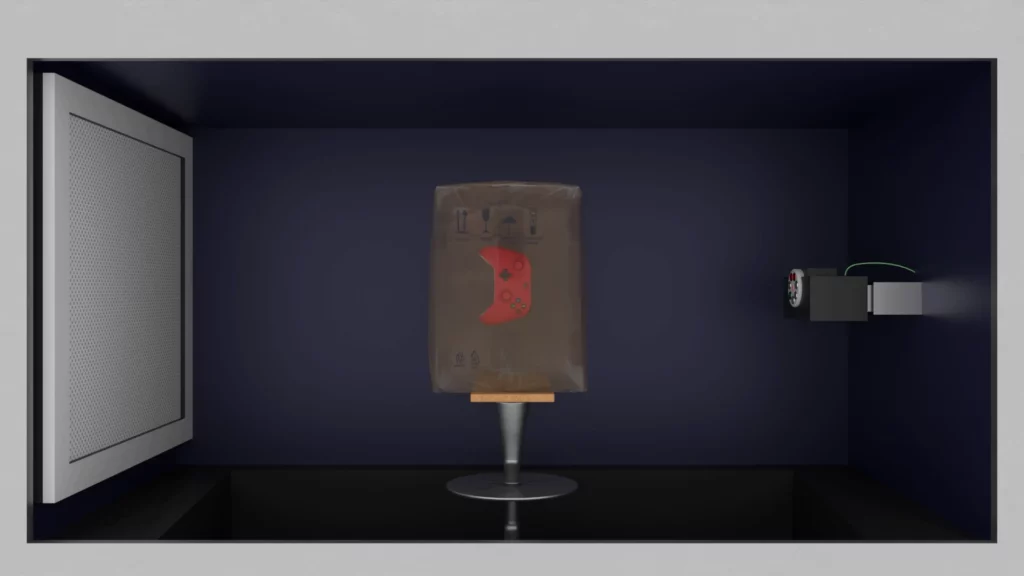
X-ray emitter on the right, detector on the left, with a box in between showing a visible red controller
Swann Rack / Holocreators Only the object inside the box, not the box itself appears in the 3D scan.

Controlling the Resolution Through Placement

Once we power on the emitter, it emits a steady X-ray beam toward the detector. The beam’s spread stays fixed, but we can slide the box between the emitter and the detector.
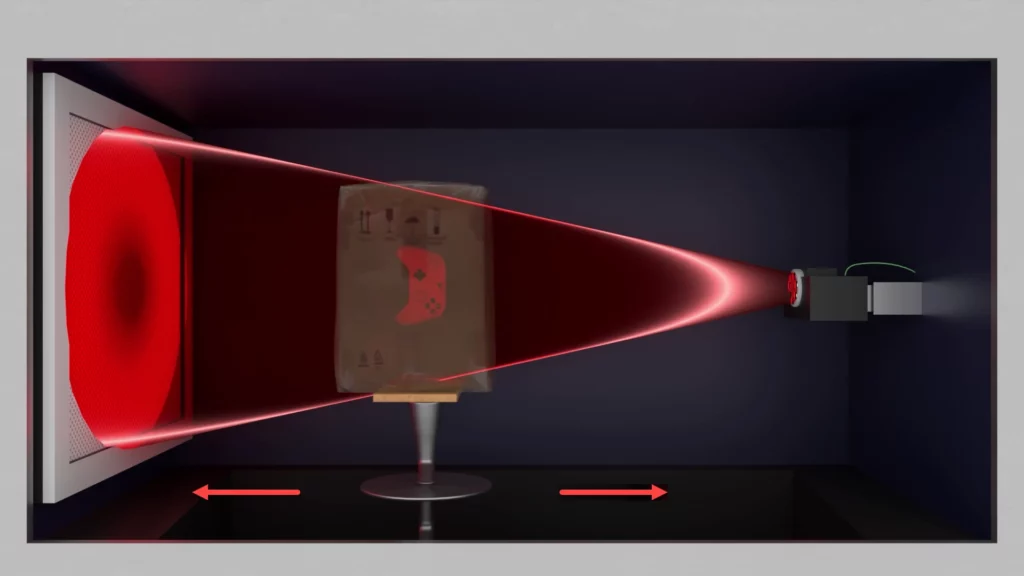
X-ray beam passing through a box, revealing the controller inside, and shining onto the detector
Swann Rack / Holocreators We can move the box between the emitter and the detector to control the 3D scan resolution.

Since the game controller is relatively small, we can position it very close to the X-ray emitter. This gives us a large, detailed projection on the detector, that’s perfect for capturing an ultra-high-resolution 3D scan. Increasing the size of the projection on the detector enhances the resolution of the 3D scan.

The catch? A narrow beam means we can only scan one object at a time. While the detail is incredible, the 3D scan is expensive.
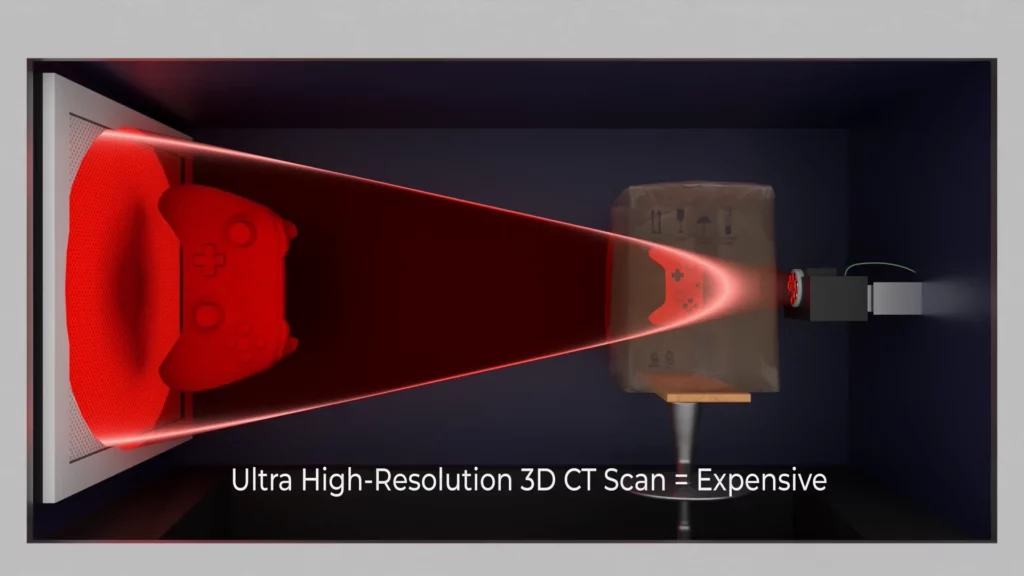
Game controller positioned close to the x ray emitter for an ultra high-resolution 3d ct scan
Swann Rack / Holocreators Closer placement of the object towards the emitter creates a larger projection and a higher resolution 3D scan.

When we move the box farther from the emitter, the controller’s projection on the detector becomes smaller. That means we’ll get a bit less details but more space inside the 3D scan volume. And that’s where things get exciting – this extra space allows us to scan multiple parts in a single session. Thus lowering the price per 3D scan.
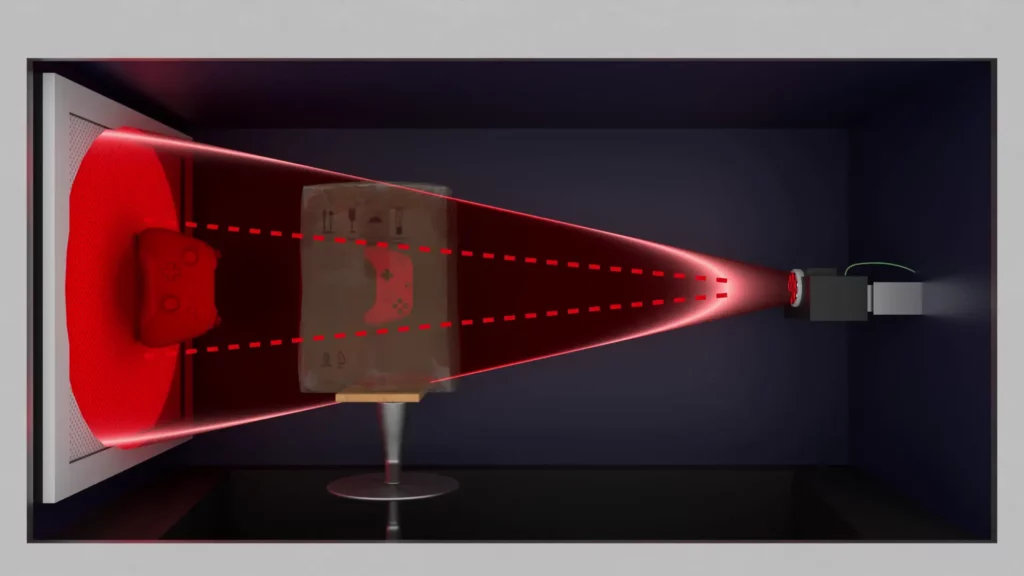
Game controller moved further from the emitter, with a smaller projection on the detector
Swann Rack / Holocreators Moving the object further from the emitter makes the beam wider and the object projection smaller, which lowers the resolution of the 3D scan.

Lowering Costs with Multi-Part 3D Scans

Now that the X-ray beam is fully expanded, we can fit multiple game controllers into the box at the same time. 

Scanning multiple objects in a single session brings the cost down. The resolution also drops slightly, but the results are still excellent.
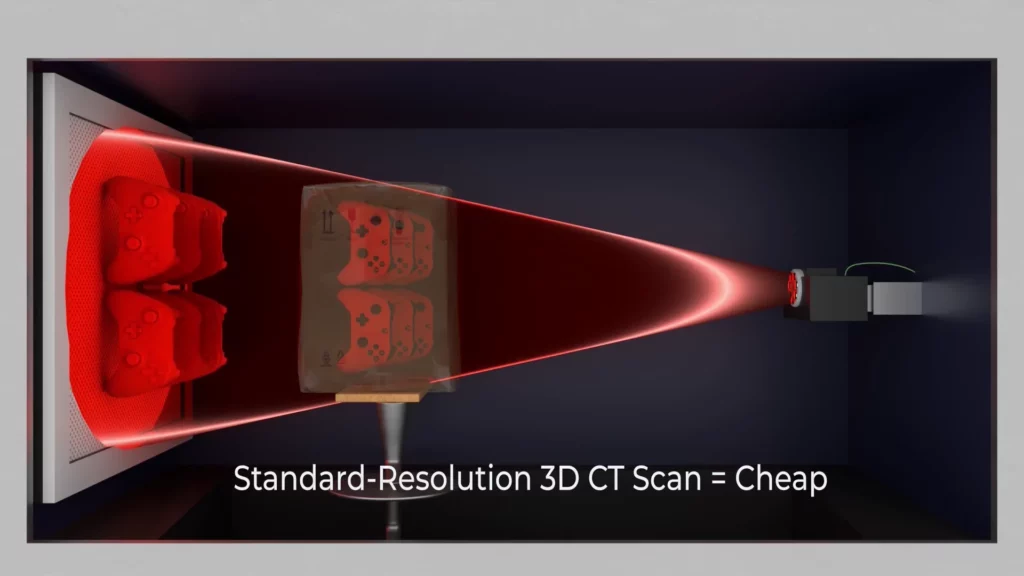
Multiple game controllers 3d ct scanned simultaneously by placing them farther from the emitter
Swann Rack / Holocreators With more room in the beam, we can place multiple controllers in one scan session.

Conversion of 3D CT raw data into a 3D model (STL)

After the 3D CT scan is complete, we get a preview of the 3D CT raw data. Using specialized software, we can filter the scan to highlight different materials. At first, we only see the outer box, but with a few adjustments, the parts inside become visible.
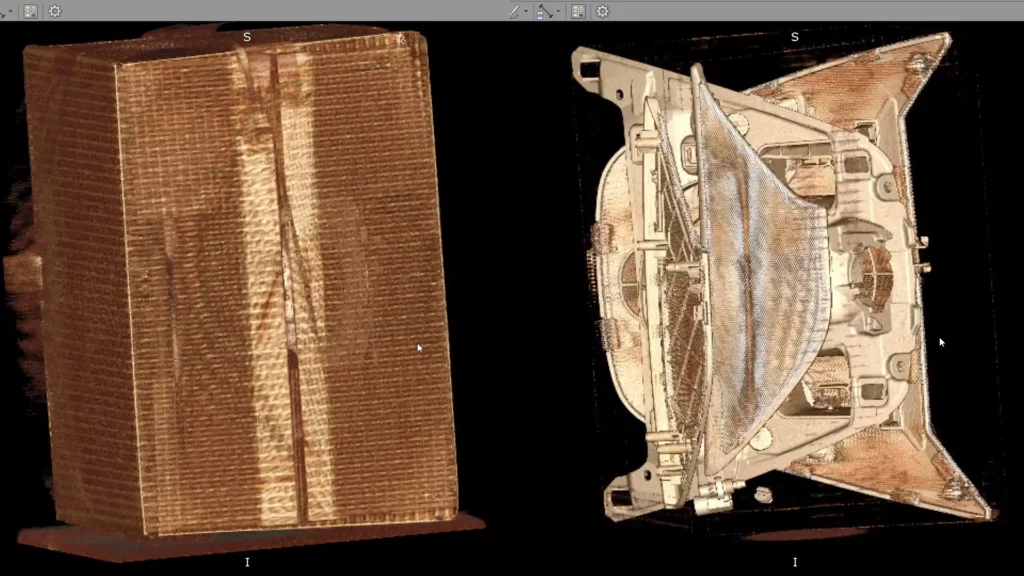
Raw 3D preview of everything that was scanned inside the box. Before and after applying filters.
Swann Rack / Holocreators Preview of the raw CT scan. Left side before applying filters. Right side with filters.

In the final step, we export the 3D models as STL files. In this case we have created a detailed, exploded view of the game controller.
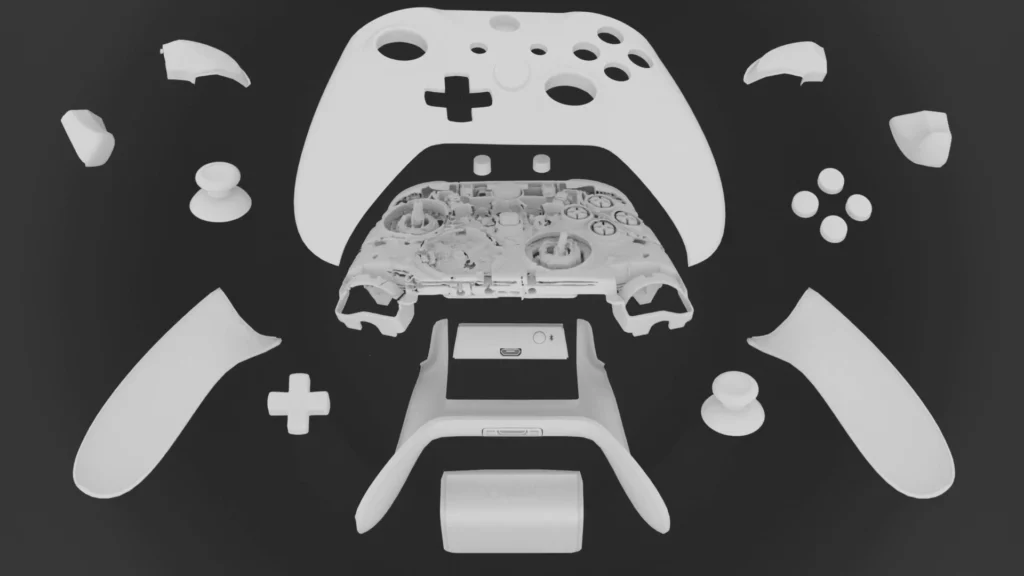
Exploded view of separated game controller components in black and white
Swann Rack / Holocreators A look at the 3D model of the game controller.

Affordable CT Scanning for Your Projects

By using this scanning technique, we make CT scanning more affordable without compromising on quality. If you’re working on a project and need precise 3D models, this 3D scanning method is for you.

We offer the 3D CT scan for 95 EUR per part.

Have a part that needs scanning? 

Simply send it our way. Visit holocreators.com get in touch with our team, and we’ll handle the rest, delivering fast, accurate, and affordable 3D scans.

Swann has been enthusiastic about everything 3D for many years. His roots lie in analog holography, which brought him to digital 3D-modeling in 2011.

The rapid progress of various 3D-scanning techniques fascinated himso much thathe founded Holocreators together with his brother Miro Rack in 2015.

Please contact us if you need a 3D Scan or 3D Scan to CAD conversion (STL zu STEP)
  • JPG, PDF, or PNG max 100 MB
    Drop files here or
    Accepted file types: jpg, png, pdf, jpeg, Max. file size: 100 MB.
    You may be interested
    Estimated reading time: mins
    With the help of specialized 3D scanners, you can 3D-scan people and animals. This allows you to create 3D models that can be 3D-printed or used for 3D animation. We'll show you three different devices that make such 3D scans possible.
    Estimated reading time: mins
    Kitbashing is associated with model making. It is composed of the words "Kit" and "Bashing". “Kit” refers to "model kit". So, when a model maker is "kitbashing", he blends parts from different model kits. Similar to a collage. The model maker combines several individual models into an entirely new model.
    Estimated reading time: mins
    A NURBS model consists of points connected by curves. A polygon mesh consists of thousands or millions of small triangles. CAD surface models are usually created using NURBS surfaces, while 3D scans are typically exported as a polygon mesh. The conversion from a polygon mesh to a NURBS model is called "reverse engineering".
    Estimated reading time: mins
    Reverse engineering enables us to create a copy of an object. For this purpose, the part is 3Dscanned, then the 3D scan data is converted into a CAD format, and finally, the part is manufactured. All these steps result in noticeable deviations. If an error adds up over multiple steps, then we call this error propagation.

    Thanks you!

    Our representative will be in touch with you soon

    Thanks you!

    We are glad that you have subscribed to our newsletter
    sparks